image-comparison grip-lines arrow-top-right zip arrow-right video minus arrow-back text shop twitter file home quick-order arrow-left youtube search arrow-down check all filter site_references image Slice 1 zoom 🎬 icons / _ icon size / _ download-queue Created with Sketch. chevron-down arrow-right picture pdf podcast exe plus hotline close xxx-1 burger clipboard linked-in ppt Artboard 🎬 icons / _ icon size / _ download-queue_add Created with Sketch. Layer 1 Created by potrace 1.15, written by Peter Selinger 2001-2017 My Account press_releases Created with Sketch. PRESS ds-instruments ds-preventive ds-implants ds-endodontics Cart presentation Created with Sketch. DS-Preventive-Icon-Grey video Created with Sketch. other Created with Sketch. text_piece Created with Sketch. promotion Created with Sketch. Spare Parts ds-imaging-systems case_study Created with Sketch. ds-treatment-centers broschure Created with Sketch. ds-prosthetics ds-restorative video Created with Sketch. flyer Created with Sketch. whitepaper Created with Sketch. article Created with Sketch. image Created with Sketch. Service ds-cad-cam Artboard Quick Order Dentist Chair study Created with Sketch. ds-orthodontics ds-implants ds-endodontics ds-cerec digital-scan grinder ds-diagnosis END-Website-Icons-Shaping-Cleaning-Obturation step_1 analyse ds-abutment-placement more-quality initiative scan more-quality ds-polishing digital ds-irrigation ds-treatment-centers Test treatment ds-restorative ds-implant-planning realistic construct book ds-planning-impression END-Website-Icons-Shaping-Cleaning-Obturation END-Website-Icons-Shaping-Cleaning-Obturation mirror anwender ds-preventive planning-2 ds-obturation ds-cad-cam 04 ds-implant-placement ds-retention-protection ds-anesthetics restauration form ds-inlab oven CORP-icon-grey-screen-tooth-cavity-pulpa robot plan place ds-orthodontics PDF-Formular_ganzneu PDF overlay ds-bone-regeneration ds-treatment-preparation vorher_nachher ds-maging-systems wifi END-Website-Icons-Shaping-Cleaning-Obturation omnicam PDF-Formular_neu_vonGünther treatment consulting planning comparison ds-set-up ds-prosthetics support step_3 ds-tooth-preparation ds-treatments ds-scaling step_2 ds-instruments software quote-english quote-french quote-text-german Created with Sketch. upload Created with Sketch. version Created with Sketch. ds-endodontics globe
Dentsply Sirona Norway
Norsk bokmål
Home Back

Digital Workflows With Primeprint

Expanding treatment offerings and digital manufacturing options

Primeprint easily integrates into existing digital workflows in practice and lab, efficiently expanding the range of indications. Thanks to the high level of automation, it helps reduce handling times, allows delegation, and supports a high level of productivity. Furthermore, it seamlessly connects into the entire DS Digital Universe. Learn more about how Primeprint makes specific workflows more efficient in the sections below!

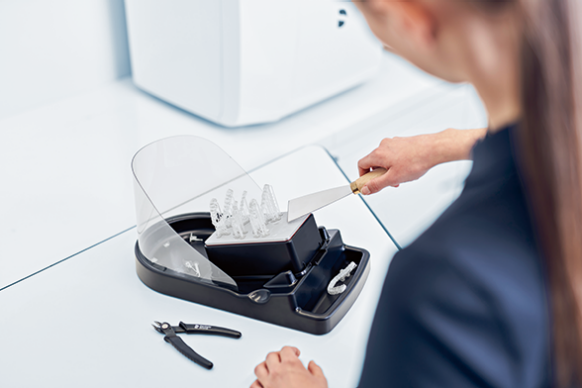
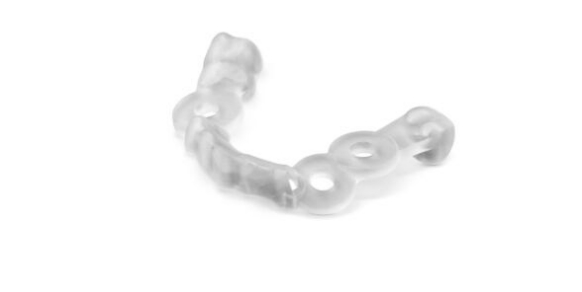
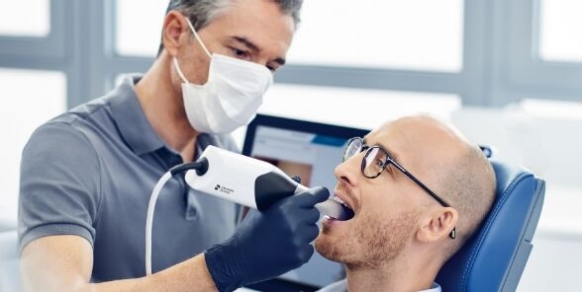
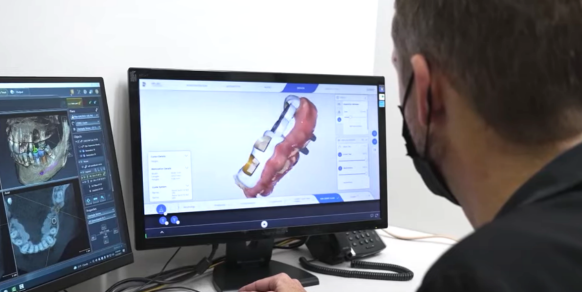
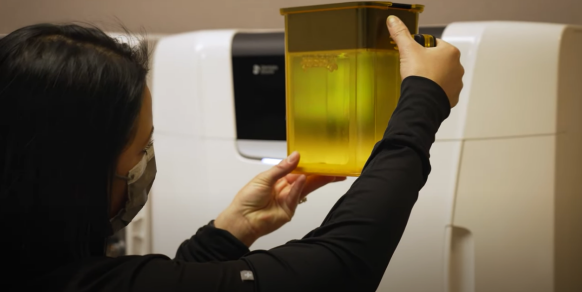
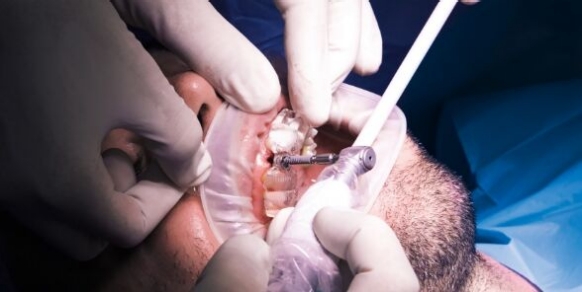
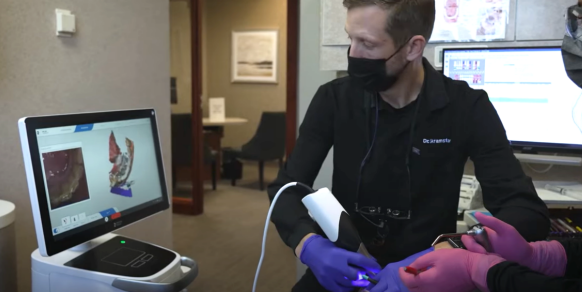
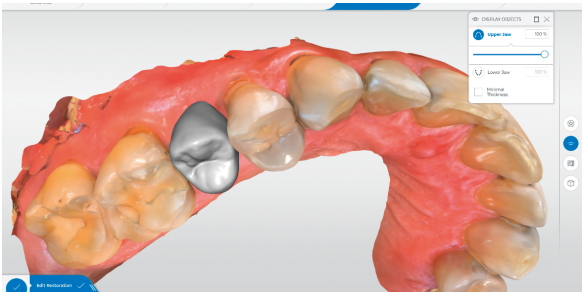
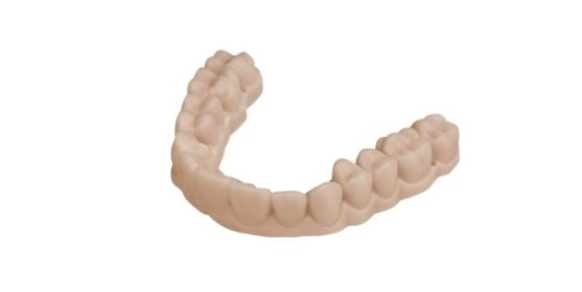
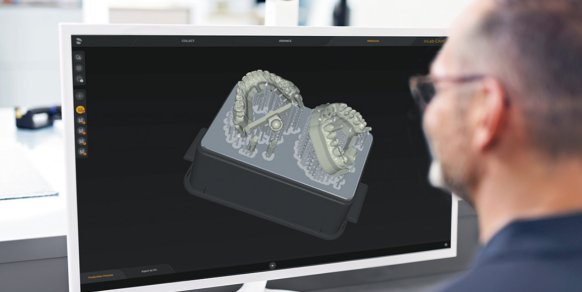
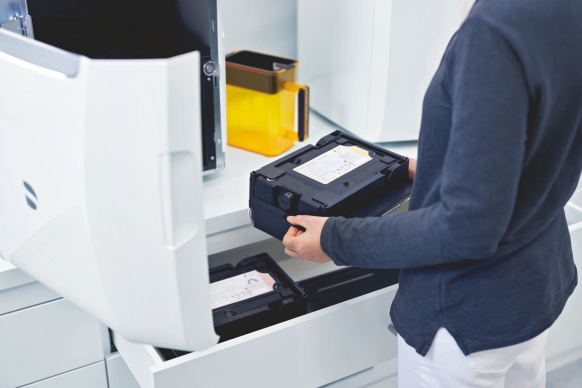
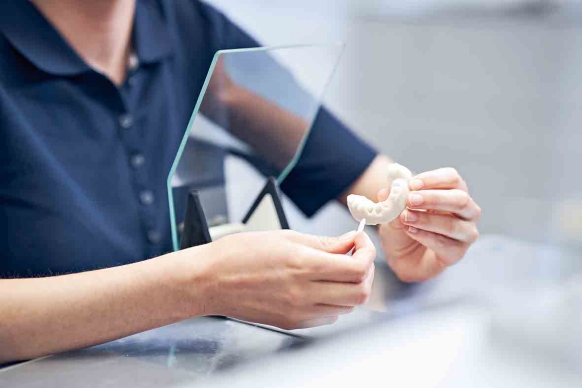
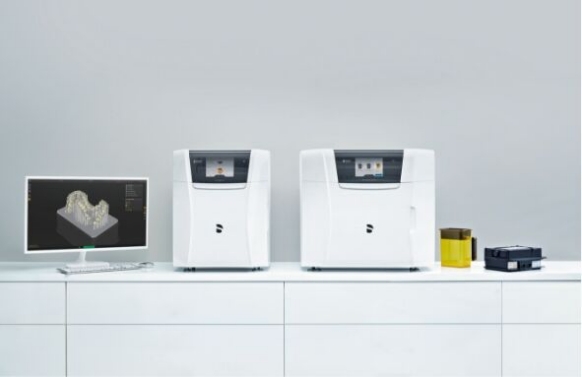
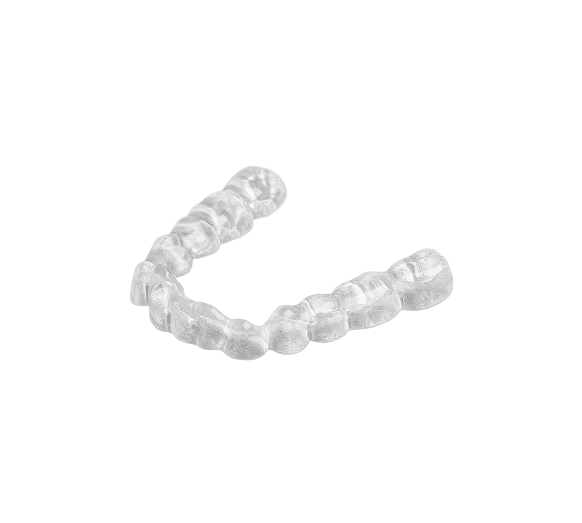
Creating splints with Primeprint

If you're wondering how your practice can meet your patients' splint needs while being more profitable, look no further! The splint workflow enabled by Primescan and Primeprint is efficient, reliable, and helps you deliver outstanding patient care. And the best part: the workflow, from scan to print, can be easily delegated to your office staff.

Take the full arch scan in less than one minute with Primescan and carry out the protrusive bite registration with George Gauge in our Connect SW or CEREC SW.

In the CEREC SW or inLab CAD Software, the splint can be designed based on the data from the intraoral scan. From the model phase on, the design is handled via the inLab Splint app, which has been specifically designed for the creation of splints and impression trays. When the design is completed, the model data is sent to the inLab CAM Software to prepare the 3D printing. Here, several parameters can be adjusted to optimize the print.

Printing from the inLab CAM Software can now begin. As soon as the printer has been prepared  with the material unit and Primeprint Box, the printing process can start. After printing, the splint must be washed, dried, and cured in Primeprint PPU to be ready for medical application.

The splint can now be removed from the building platform. 

Guided implant surgery using surgical guides

The digital implant workflow, using a surgical guide, provides safe, fast, and convenient treatment for your patient. From data capturing to guided surgery, the seamless workflow provides a high degree of clinical safety. By carrying out prosthetic planning, in addition to implant planning, you can ensure that the implant is properly positioned.

First, relevant data is taken using 3D imaging and digital impression with CEREC Primescan or Omnicam. Based on the digital impression, the crown (or prosthetic) can be designed in the CEREC Software. This prosthetic proposal can be exported to be used in the implant planning software.

The data from both the 3D imaging and the prosthetic design can be imported and matched in the implant planning software. Based on this data, the implant position can be determined to create the surgical guide.

The implant planning data can be imported into the CEREC Software to adjust the initial proposal. When finalized, the data is sent to the inLab CAM Software to start 3D printing with Primeprint. After printing, the surgical guide must be washed and cured in Primeprint PPU.

When the surgical guide has been finalized, the surgery can take place. The implant is positioned securely and easily in a minimally invasive procedure using the surgical guide. Before the final restoration can be placed, the implant must heal.

For the design of the final restoration, an intraoral scan of the scanbody, the adjacent teeth, and scan of the scanbody are taken. Based on this data, the CEREC Software automatically recognizes the three-dimensional position of the implant.

The abutment plus crown or screw-retained crown can now be planned in the CEREC Software in just a few steps.

The final restoration can now be produced with CEREC Primemill or CEREC MC X and placed.

Creating working models with Primeprint

In labs working models are often used to ensure high quality indications. Primeprint enables dental technicians to print working models safely and easily in just a few clicks. With the inLab CAD and CAM Software dental technicians can easily and efficiently design and adjust print objects, which can then be printed and post processed with Primeprint and Primeprint PPU.

A working model is required to deliver the requested restoration for specific indications.

In the inLab CAD Software, the working model can be designed based on the data from the intraoral scan. From the model phase on, the design is handled via the inLab Model app, which has been specifically designed for the creation of working and solid models. When the design is completed, the model data is sent to the inLab CAM Software to prepare the 3D printing. Here, several parameters can be adjusted to optimize the print.

Printing from the inLab CAM Software can now begin. As soon as the printer has been prepared  with the material unit and Primeprint Box, the printing process can start. After printing, the working model must be washed, dried, and cured in Primeprint PPU to be ready for medical application.

The working model can be removed from the building platform. Now the dental technician can prepare the requested restoration using the working model.

Clinical Cases

Primeprint Collection

Interested in clinical cases with Primeprint Solution? Be inspired and convince yourself of the ease of use, reduced handling times, seamless integration into existing digital workflows, and above all, improved patient experience.

Primeprint Materials

Resources

Have questions about Primeprint? We're here to help.

Find out more about the Primeprint solution from Dentsply Sirona by contacting us for more information.

Download Center

Visit the Download Center to find Instructions for use, safety data sheets, eMDR documents, and more.