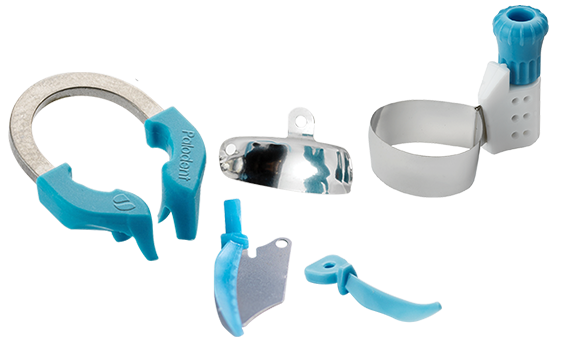
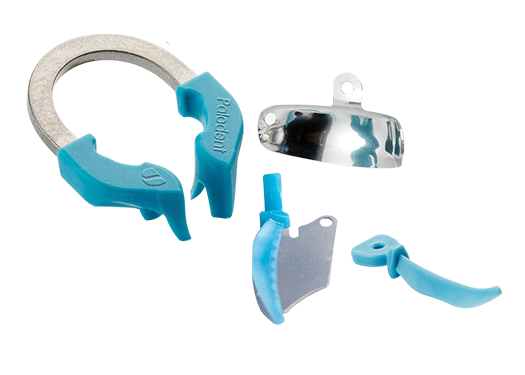
Connect with one of our Restorative product specialists to learn how our Class II Restoration products can help you provide better procedures and more comfort for your patients.
Contents:
- What is composite finishing?
- What finishing and polishing materials are used in composite restoration?
- What is the finishing and polishing protocol of composite restorations?
- How to help shorten chair time and improve outcomes
- Finishing vs. polishing in composite restorations
- Why is the 'finishing' step a big deal?
- What is an efficient finishing and polishing technique for composite restorations?
What is composite finishing?
Composite finishing in dentistry refers to the meticulous process of refining and shaping dental restorations made from composite resin materials. After placing a composite filling or restoration, specialized instruments such as burs, discs, and polishing materials are used to contour and polish the composite to achieve a natural and smooth appearance that blends seamlessly with the surrounding teeth. This step is crucial not only for aesthetic reasons but also for ensuring that the restoration fits comfortably within the patient's bite and is resistant to staining and wear over time.
Composite finishing demands skill and attention to detail to achieve optimal results, providing patients with both functional and visually appealing dental restorations.
What finishing and polishing materials are used in composite restoration?
Finishing and polishing materials play a vital role in achieving a polished and natural appearance for composite restorations in dentistry. It involves using a sequence of abrasive discs, strips, and polishing points made from materials like aluminum oxide or diamond particles. These tools help contour the restoration, smooth out rough surfaces, and refine the shape to match the adjacent teeth. Additionally, a series of polishing pastes or compounds with varying degrees of grit are utilized to achieve a high gloss finish. These materials work progressively, starting with coarser abrasives to remove irregularities and then moving to finer ones for a smooth, lustrous result.
The choice of finishing and polishing materials depends on the specific type of composite restoration and the desired final outcome.
What is the finishing and polishing protocol of composite restorations?
The finishing and polishing protocol for composite restorations involves a systematic series of steps to achieve an optimal blend of aesthetics and functionality. After placing the composite material and ensuring its proper placement:
- Contour the restoration using abrasive discs and burs to achieve the desired shape.
- Employ coarse polishing materials, such as abrasive strips, to smooth the surface and eliminate any roughness.
- Introduce progressively finer polishing materials, like polishing points and cups, gradually decreasing grit sizes to achieve a smoother texture and a natural appearance.
- Apply a high-gloss polishing paste with a soft brush or cup to create a lustrous finish.
Following a comprehensive finishing and polishing protocol, ensures that the composite restoration is both visually appealing and functionally durable.
How to help shorten chair time and improve outcomes
If you could improve the efficiency of your Class II restorations without sacrificing procedure quality and outcome, would you do it? Of course, you would — it’s hard to find a dental practitioner that wouldn’t.
Well, research has shown that on average, finishing and polishing represents about 14% of total chair time for a Class II procedure.1 Yet, for some reason, finishing and polishing products and techniques are often forgotten when it comes to discussions around improving procedure outcomes and efficiency. It doesn't matter how diligently you worked if you don't ensure a smooth surface to withstand biofilm and plaque accumulation over time - which is accomplished during the finishing and polishing stage.
Our goal is to enable you to provide the best possible care for your patients, and that extends to helping you save time and provide more predictable outcomes. Below we’ve outlined the basics of composite finishing, including the best methods, techniques, and products to achieve the most predictable results without sacrificing time or efficiency.
Ready to get started? Contact us
Finishing vs. Polishing in composite restorations
What’s more important, a smooth finish or a high polish? First, you should understand the difference between ‘finishing’ and ‘polishing’. Composite finishing is to refine the anatomy and smooth the restorative surface, reducing scratches and surface irregularities. Composite polishing is the act of creating a luster, or shine, on the surface of the restoration.
Are both composite finishing and composite polishing necessary? If you want happy patients, yes. It’s the finishing and polishing steps that can influence the overall longevity, aesthetics, color, and smooth shine on the surface of the restoration. And every patient wants to walk out of your office with a strong composite restoration and a (functional) smile they can be proud of.
Why the ‘finishing’ step is a big deal
We’ve established that finishing and polishing play a role in the aesthetics of the restoration, but the finishing step is a big deal for more reasons than a pretty smile. Studies show that clinicians can potentially increase the overall longevity of their Class II restorations with proper finishing technique.2 Here’s how: A smooth surface finish minimizes the presence of surface irregularities that can lead to plaque retention, staining, gingival irritation, recurrent caries, and tactile perception by the patient.3,4
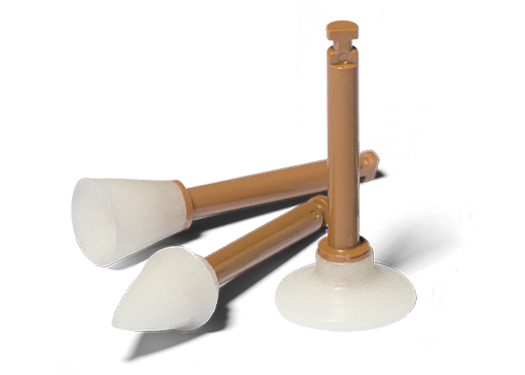
For example, let’s say you use a diamond finishing bur. The bur may provide a highly efficient rate of material removal, but it may also leave the surface rough. If you follow the diamond bur with a polisher like the Enhance® Pogo® system but skip the finishing step, the surface may have luster and be reflective but will still be rough and prone to plaque retention and staining. Now, let’s say you defined the occlusal anatomy with a finishing bur, and then used a finer grit ‘finishing’ product like the Enhance® Finishing System to further smooth the surface before polishing. The result is a smoother surface that is also resistant to plaque accumulation and staining.
Simplify your finishing & polishing steps
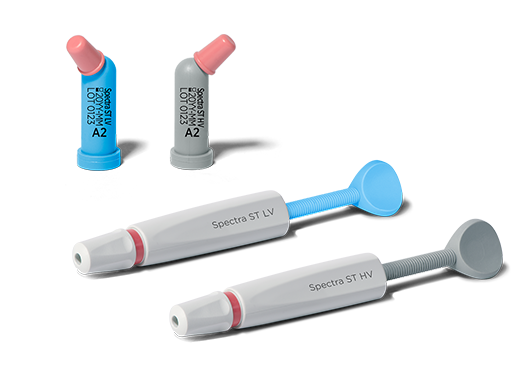
More than 70% of dentists say that simplicity is one of the most important factors for a finishing and polishing system.6 Yet many dentists still rely on using a multi-step disc system that consists of four (coarse, medium, fine, ultra-fine) discs. But what if you could simplify the finishing process? With Enhance Finishers, you can. Enhance Finishers allow you to apply more pressure for excess removal and initial contouring and then back it off for a naturally smooth surface. With no need to change instruments, you can stay focused on the procedure to achieve a better finish, faster. Not only that, but surface roughness testing proves1 that the composite surface is smoother when Enhance Finishers are used after gross contouring with a bur.
Streamline your composite finishing and polishing protocol with Dentsply Sirona
Of course, not all composite restorations will be the same, and there are stipulations when it comes to success, but that’s where we come in. Dentsply Sirona’s Class II Total Practice Solution helps clinicians identify their unique Class II challenges and provides them tools and training to implement solutions for a better practice all around. To get started, contact us now!


Contact us for more information
Please contact us for more information about Restorative.
Foot Notes:
1 Internal data on file. For more information, contact Consumables-Data-Requests@dentsplysirona.com
2 Christensen, G J. (2014). Simplifying your Class II Composite Finishing Technique. Clinicians Report, Colume 7 Issue 4.
3 Morgan M. Finishing and polishing of direct posterior resin restorations. Pract Proced Aesthet Dent 2004;16(3):211-7.
4 48. Lu H, Roeder LB, Lei L, Powers JM. Effect of surface roughness on stain resistance of dental resin composites. J Esthet Restor Dent 2005;17:102–109.
5 Berger SB, Palialol AR, Cavalli V, Giannini M. Surface roughness and staining susceptibility of composite resins after finishing and polishing. J Esthet Restor Dent 2011;23(1):34-43.
6 Exevia / Dental Shuttle/ Dentists / Q4 2016. Base: Germany n=301